Microgreens are one of the fastest and nutrient-dense ingredients you can ever grow.
Originally popular in the 90’s and seen in fine-dining restaurants as an ingredient or garnish, they are now making an even bigger comeback with more use and variation.
And guess what...You can now very easily grow them in the comfort of your own home!
What are microgreens?
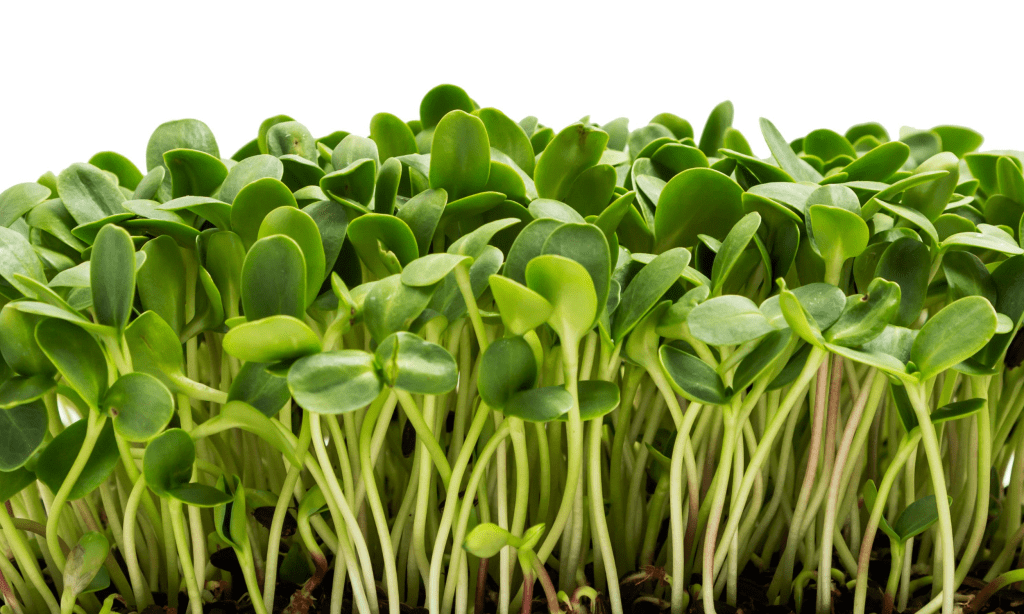
Also known as micro herbs, they are young vegetables/herbs that are left to grow until they reach approximately three to seven cm tall. They are considered to be the toddler of plants, as they are usually harvested after 7- 21 days of germination, once their first leaves have developed.
It is said that these little greens have as much nutritional value as grown herbs and vegetables. They are rich in vitamin E, C, K and also calcium and magnesium. So if you or someone in your family wants to add more vegetables in your diet, you can add a mix of microgreens with food for different tastes and variations.
Originally the most common microgreen seeds were arugula, basil, beets, kale and cilantro. Today there are over 20 different varieties of microgreens like cauliflower, cress, coriander, rocket, mustard and much more.
What do you need to grow microgreens
Growing microgreens is very simple and can be done with minimal tools; all your are going to need is:
How to grow microgreens
Soak your seeds:

Soaking your seeds helps them sprout faster. All you have to do is add them to a small bowl or jar and pour room temperature water on them and leave them for 1-2 hours.
If you are planning to grow hard shell seeds, like peas, it is best to allow them to soak for 6-8 hours.
After they have soaked, pour them through a strainer.
Plant your seeds:
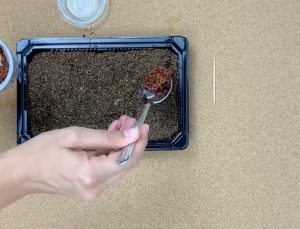
Get your tray or container, and add about 2-4cm of soil.
Add your seeds to the surface and spread them out gently with your fingers. You want to make sure that there is at least one seed gap between each seed.
Once you are done spreading them out, press them in gently.
Grab your water spray bottle, and mist the soil, you want to make sure it is moist not wet.
To help the germination even more, you can slightly mist the lid that you plan to use to cover the container.
This helps maintain a humid environment for them.
Place in a dark place:

Grab your tray or container and place in a dark space.
This step is extremely important, as it makes the seed think it is under the soil and gives it a boost to push out to find light.
Check on your microgreens everyday by removing them from the dark space and misting them. Place them back in the dark place.
This process will take around 4-7 days depending on the type of seeds.
Place in bright light:
The best way to know when your microgreens are ready to be placed in bright light is once they get bright yellow and are around 3-4cm.
You can then uncover them and place them by the window sill.
Make sure you are still misting them everyday to maintain a moist soil.
Harvest:
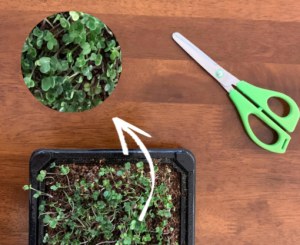
Harvesting time varies depending on seed type, on average it is around 7-14 days.
Best way to know when your seeds are ready is when you see the baby leaves have developed.
You will also notice slow down in growth.
To harvest them, all you need is a pair of scissors.
Just hold the microgreen tops with your fingers and with your other hand cut the microgreens close to the soil.
And voila!
Now you can add them to your sandwiches, salads, or smoothies!
Excited to grow your own little greens? Check out our microgreens collection.
Or watch our Microgreens video for more instructions.